NOTE: This is a collection of information and links collected over the years that might provide useful information. A Safer Company LLC does not guarantee, endorse or approve any of these links or their scripts. Use these links to other websites at your own risk.
Notice: Undefined variable: message in /hermes/walnacweb03/walnacweb03af/b1896/as.asaferco/webdesign/Templates/code/dir_listing_enhanced.php on line 67
Notice: Undefined variable: message in /hermes/walnacweb03/walnacweb03af/b1896/as.asaferco/webdesign/Templates/code/dir_listing_enhanced.php on line 72
Warning: Use of undefined constant r - assumed 'r' (this will throw an Error in a future version of PHP) in /hermes/walnacweb03/walnacweb03af/b1896/as.asaferco/code/F_get_page_title_Enh.php on line 28
Notice: Undefined variable: print_file_data in /hermes/walnacweb03/walnacweb03af/b1896/as.asaferco/webdesign/Templates/code/dir_listing_enhanced.php on line 127
Warning: Use of undefined constant r - assumed 'r' (this will throw an Error in a future version of PHP) in /hermes/walnacweb03/walnacweb03af/b1896/as.asaferco/code/F_get_page_title_Enh.php on line 28
Warning: Use of undefined constant r - assumed 'r' (this will throw an Error in a future version of PHP) in /hermes/walnacweb03/walnacweb03af/b1896/as.asaferco/code/F_get_page_title_Enh.php on line 28
Warning: Use of undefined constant r - assumed 'r' (this will throw an Error in a future version of PHP) in /hermes/walnacweb03/walnacweb03af/b1896/as.asaferco/code/F_get_page_title_Enh.php on line 28
Warning: Use of undefined constant r - assumed 'r' (this will throw an Error in a future version of PHP) in /hermes/walnacweb03/walnacweb03af/b1896/as.asaferco/code/F_get_page_title_Enh.php on line 28
Notice: Undefined variable: print_folder_data in /hermes/walnacweb03/walnacweb03af/b1896/as.asaferco/webdesign/Templates/code/dir_listing_enhanced.php on line 160
Notice: Undefined variable: message in /hermes/walnacweb03/walnacweb03af/b1896/as.asaferco/webdesign/Templates/code/WebDesign_toc.php on line 12
Notice: Undefined variable: message in /hermes/walnacweb03/walnacweb03af/b1896/as.asaferco/webdesign/4_Physical_Design/Coding_HTML/Working with Images/photographs_slideshow.html on line 247
Photo Slideshow
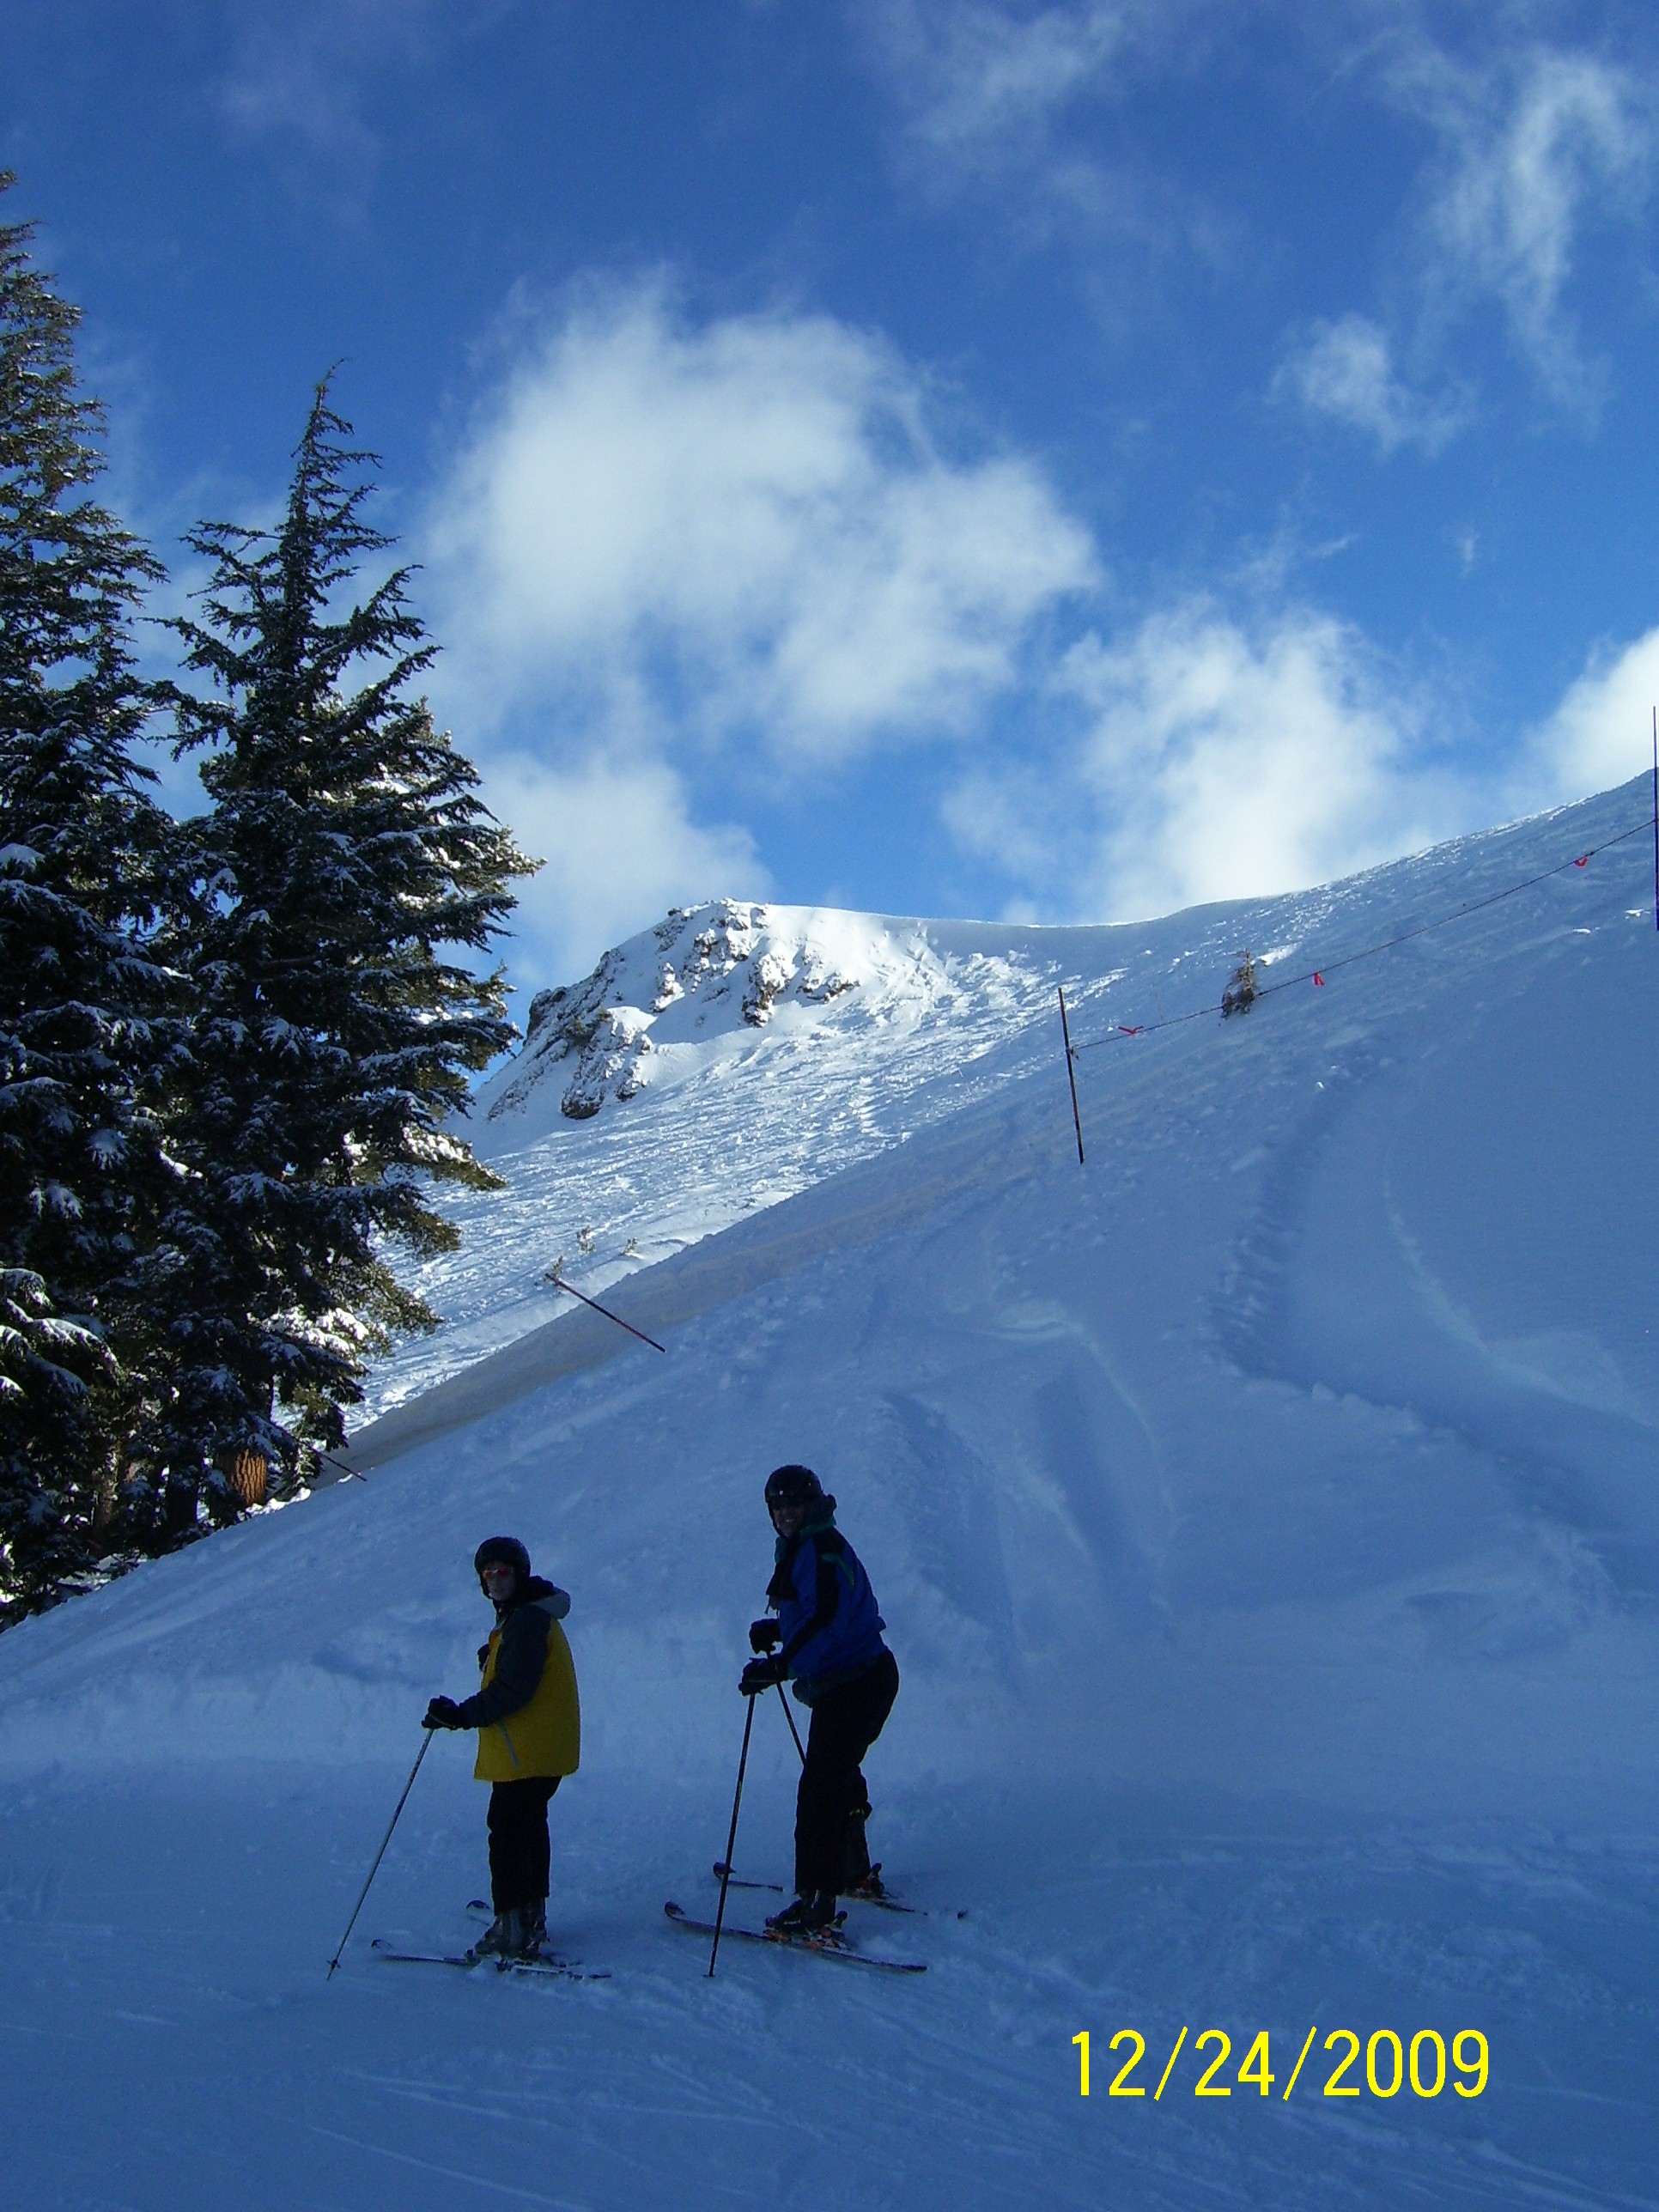
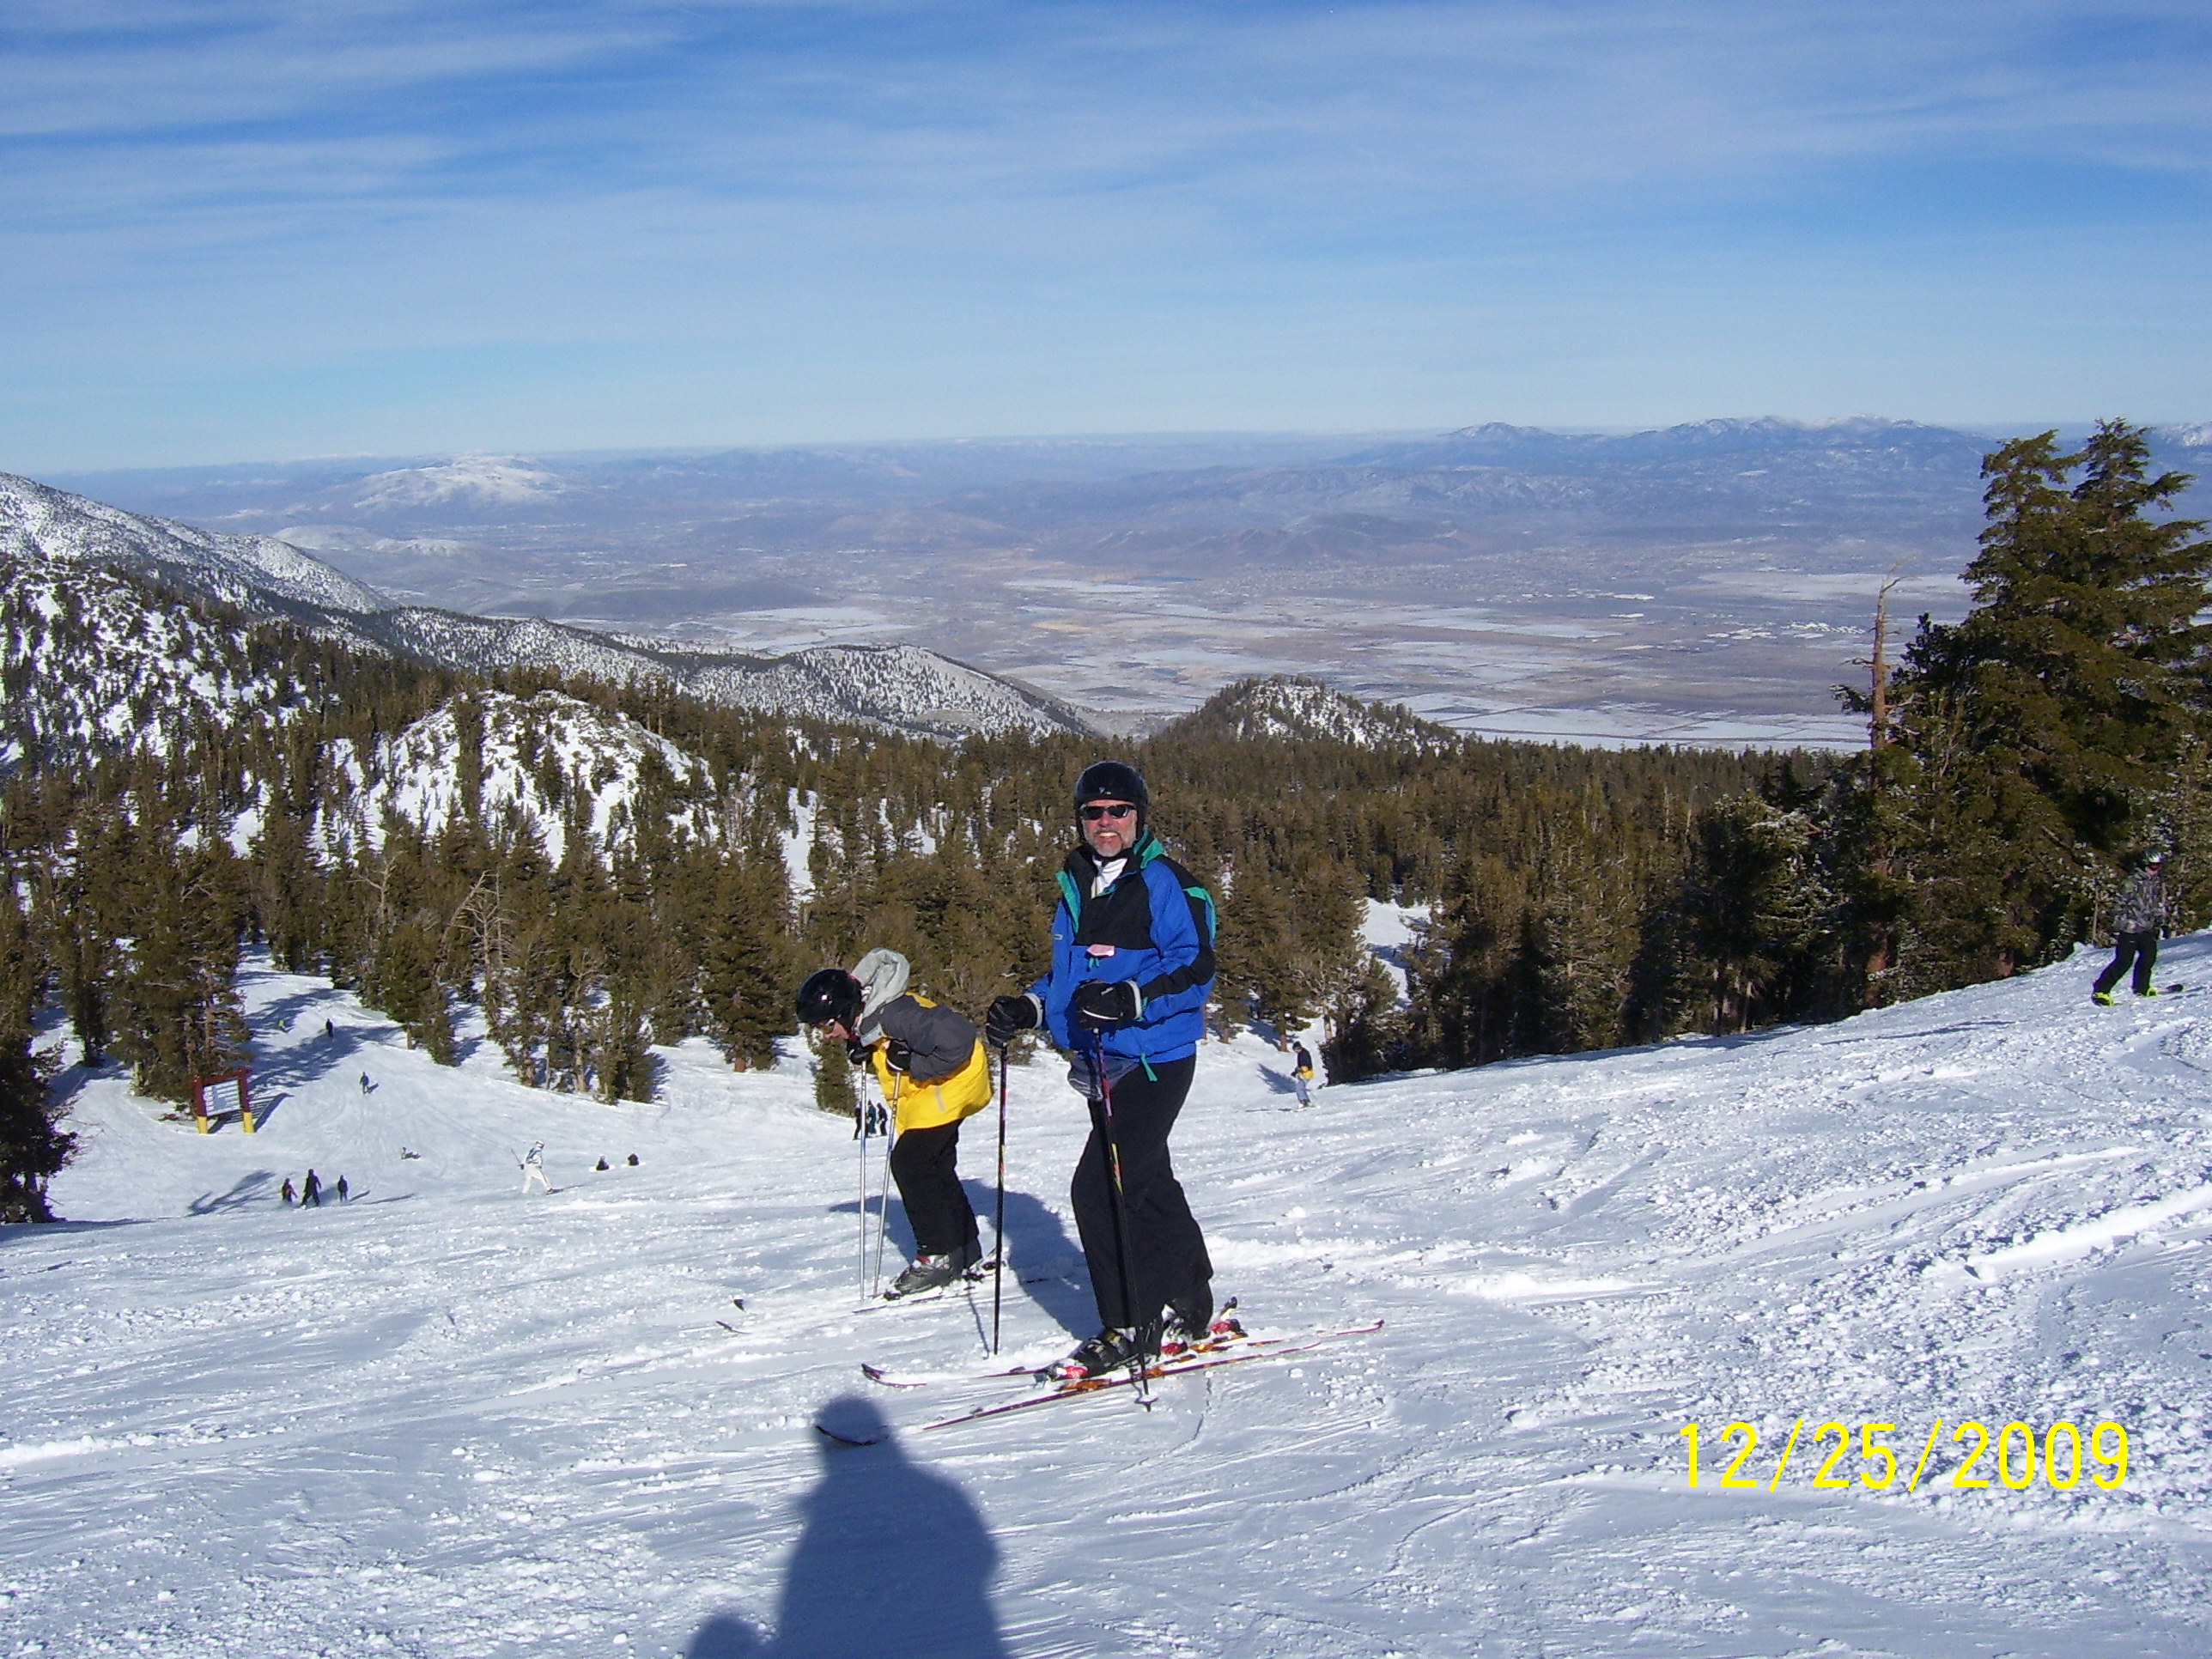
I have 5 photos below that I want to put on my web page. These photos have different widths and heights and a combination of portrait and landscape. I have given the photo the width of 100px so they will fit on this page for you to see. If you click no the image, the image will open with the original size.
Our goal is to display all of these images on a web page as thumbnails and display a larger photo when you mouse over the thumbnail.
Select 5 Photos
These are very large photos and will take a few minutes to copy.
Organizing the Images
- Find 5 photo that you want to add to your web page or you can use the
ones above by right clicking on the image and saving it to your images
folder.
- All of your images jpg, gif, and png should be placed in your images folder.
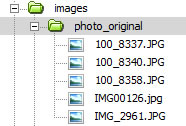
- Make a folder in images to hold these photographs. For
example: images/photo_original. Move all of the images
for this example to this folder.
.
- Rename each photo to photo1.jpg, photo2.jpg, photo3.jpg, photo4.jpg,
photo5.jpg. Make sure you have the extension .jpg when you rename
your files.
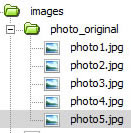
- Make 2 copies of this images/photo_original.
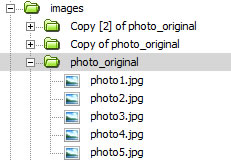
- Rename Copy of photo_original to photo_large
- Rename Copy [2] of photo_original to photo_small
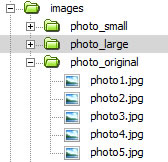
Resizing the Images
- You will need 2 sizes of your photos; a larger photo and a smaller photo. The small photos are called thumbnails.
- There are many ways to resize your images. Adding and Editing Images
with Dreamweaver
- Thumbnails
- Determine the size of the thumb nail images. I am using 100 px across for this example.
- Resize the files in the folder images/photo_small
- Large Image
- Determine the size of the larger image. I am using 400 px across for this example.
- Resize the files in the folder images/photo_large
- Thumbnails
Adding Images to Web Page
- Determine how you want
your photos arranged on your web page. You can align your images vertically
or horizontally as seen in these examples:
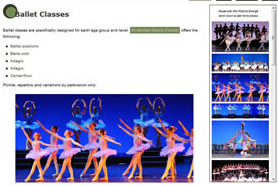
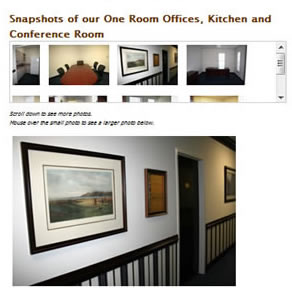
- We are going to align our photos horizontally.
- Set up a division <div class="photoselection"> </div>
- Add each of your small images to this division. Make sure you give
each image a meaningful alt="" and an id.
<div class="photoselection">
<img src="images/photo_small/photo1.jpg" width="100" height="133" alt="Describe the image" id="photo1" />
<img src="images/photo_small/photo2.jpg" width="100" height="75" alt="Describe the image" id="photo2" />
<img src="images/photo_small/photo3.jpg" width="100" height="75" alt="Describe the image" id="photo3" />
<img src="images/photo_small/photo4.jpg" width="100" height="74" alt="Describe the image" id="photo4" />
<img src="images/photo_small/photo5.jpg" width="100" height="67" alt="Describe the image" id="photo5" />
</div>


- Add the large image below

Adding the Javascript in Dreamweaver
- Now that you have the basic layout of your images, you want to swap the thumbnail image that you mouse over for the large image.
- In Dreamweaver:
- Go to your top menu bar and select Window >Behaviors. Behaviors
should be checked. In the right panels area, you should see the Tag
Inspector panel.

- Click the

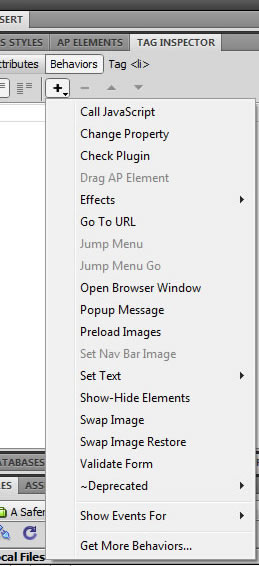
- Select Swap Image.
- You will see the names of all
of the images on the page. If you gave the images an id, you should
see image "photo1" , etc. Click on the image "photo1"
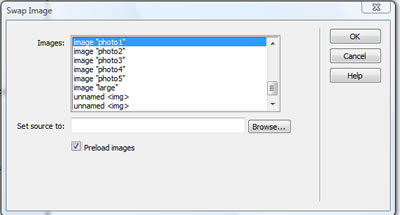
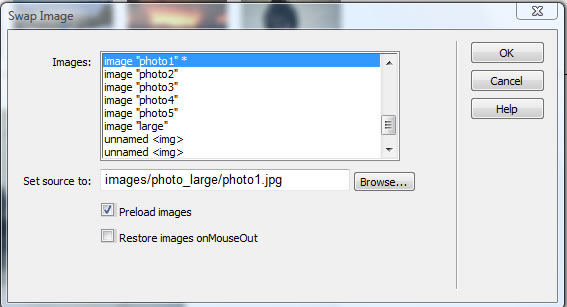
- Go to Set Source to: and browse to
find the large image for photo1. Make sure that Preload images is checked and Restore
images onMouseOut is not
checked.
- Dreamweaver does several things to the web page
- Adds javascript to the page called MM_swapImage
- Adds
a property to
the image tag:
<img src="images/photo_small/photo1.jpg" alt="Describe the image" width="100" height="133" id="photo1" onmouseover="MM_swapImage(photo1,'','images/photo_large/photo1.jpg',1)" /> - The line of code above will display theimages/photo_small/photo1.jpg and when you mouseover the image, the javascript function MM_swapImage will swap the images/photo_large/photo1.jpg for the image with the id="photo1". Since the photo1.jpg has the id of photo1 the image will not seem to change.
-
Go to the source code and find code:
(Hint: copy and find)
onmouseover="MM_swapImage(photo1,'','images/photo_large/photo1.jpg',1)"
Change it to:
onmouseover="MM_swapImage(large,'','images/photo_large/photo1.jpg',1)" - Go to the browser and test the change.
- If you are using the images from this page, the image will look
skewed. This is because the large image has different dimensions
than the image I used for the large image. Click on the large
image and remove the width and height.
- The original code:
<img src="images/photo_large/photo5.jpg" width="400" height="267" alt="large" id="large" /> - The new code:
<img src="images/photo_large/photo5.jpg" alt="large" id="large" />
- The original code:
- Test your HTML page in the browser. At this point, your page should look like example 1. If you don't have access to Dreamweaver you can copy the code from this example 1 page and use it to add your photographs.
- Repeat this process for the remaining photos.
- Go to your top menu bar and select Window >Behaviors. Behaviors
should be checked. In the right panels area, you should see the Tag
Inspector panel.
Preloading Images
- When we used Dreamweaver to set up the swap image above, we checked
to Preload Images.

- Dreamweaver adds a javascript function to the head section of the
web page. Dreamweaver also adds a property to the <body> tag to
call the javascript when the page is loaded:
<body onload="MM_preloadImages('images/photo_large/photo1.jpg')"> - If you used Dreamweaver process described above to set up the swap image,
Dreamweaver automatically added each image to the javascript parameters
list;
otherwise, if you hand coded the change, you will need to add all the
images to the parameter list. For example, I have added photo2
<body onload="MM_preloadImages('images/photo_large/photo1.jpg','images/photo_large/photo2.jpg')">
Notice that each parameter is enclosed in "quotes" and separated by a comma.
Adding CSS
- Remember that CSS is used to add color, size, fonts, and position to the HTML page.
- Scroll Bar - Using CSS to add a scroll bar to the
image selection area.
- We have already wrapped the small images in a <div class="photoselection"> tag Review Steps
- We are going to add the CSS to the photoselection class.
.photoselection {
float:left; /* floats each image to the left */
width: 100%; /* How wide the photo selection will be; Change this to be 100px if you want a vertical photo list*/
height:90px; /* give the height of how much of the photos you want to display; Change this to be 300px if you want a vertical list*/
overflow: auto; /* gives the scroll bar */
padding: 0px;
margin: 0px;
border:thin solid;
border-color:#CCC;
line-height:normal;
}
- Caption - Using CSS to add a caption to each image
- Wrap each small image in a <div class="photosmall"> tag:
<div class="photosmall">Caption<br />
<img src="images/photo_small/photo2.jpg" width="100" height="75" alt="Describe the image" id="photo2" />
</div> - Add the css:
.photosmall{
font-size:.5em;
text-align:center;
float:left;
padding: 0px;
margin: 3px; /* distance between images*/
width:auto; /* width depends on size of image*/
border:none;
} - Test your HTML page in the browser.
- At this point, your page should look like example 2. If you don't have access to Dreamweaver, you can copy the code from this example page and use it to add your photographs.
- Repeat the process for all the small images.
- Wrap each small image in a <div class="photosmall"> tag:
Warning: Use of undefined constant PHP_SELF - assumed 'PHP_SELF' (this will throw an Error in a future version of PHP) in /hermes/walnacweb03/walnacweb03af/b1896/as.asaferco/webdesign/4_Physical_Design/Coding_HTML/Working with Images/photographs_slideshow.html on line 525
Page last updated: May 31, 2012 14:28 PM
Content and Navigation...


.jpg)
.jpg)
.jpg)
